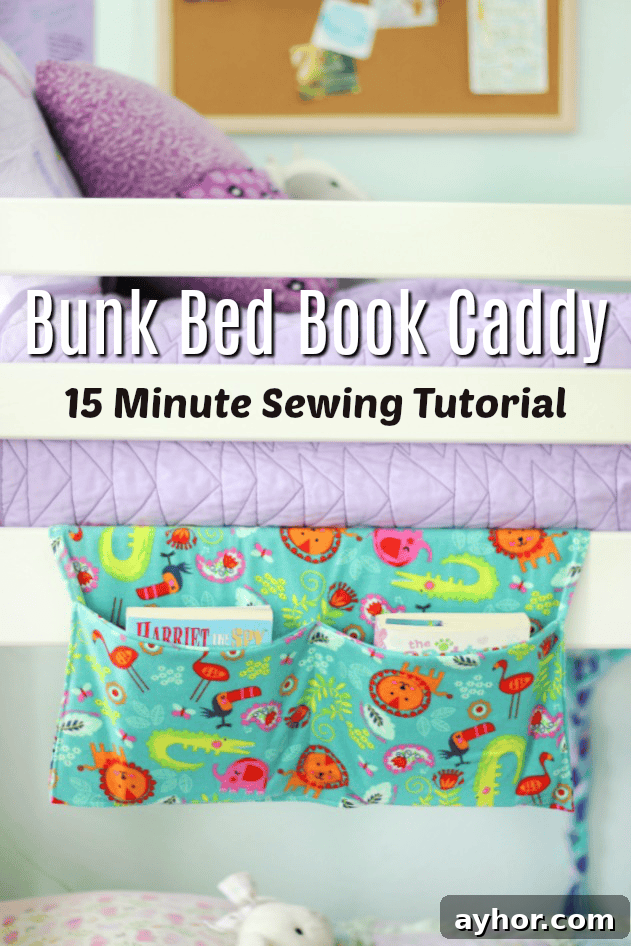
A quick and easy 15-minute sewing tutorial for making a bunk bed book caddy. Perfect for holding chapter books or anything you want within reach!
Looking for another simple kids’ bedroom sewing project? Try making a fabric laundry bag to hang on the door. There’s also a felt version of this book caddy in the sewing book for kids.
Watch our step-by-step video
Years ago, when my boys were little, I made each of them a bunk bed book caddy. They were great for books, stuffed animals, and small toys. I recently simplified the design to make it even easier to sew, and my daughters love the updated version. My son Aaron liked it so much he asked for one for his bed too.
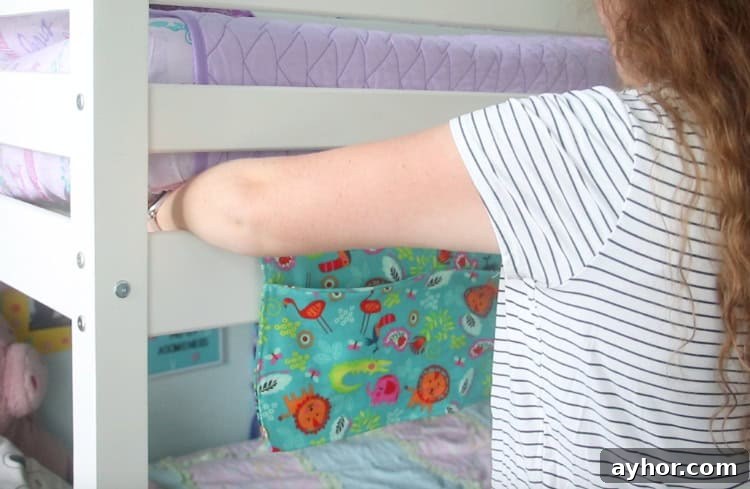
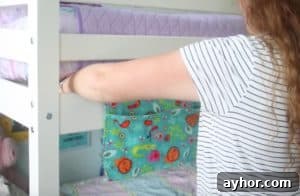
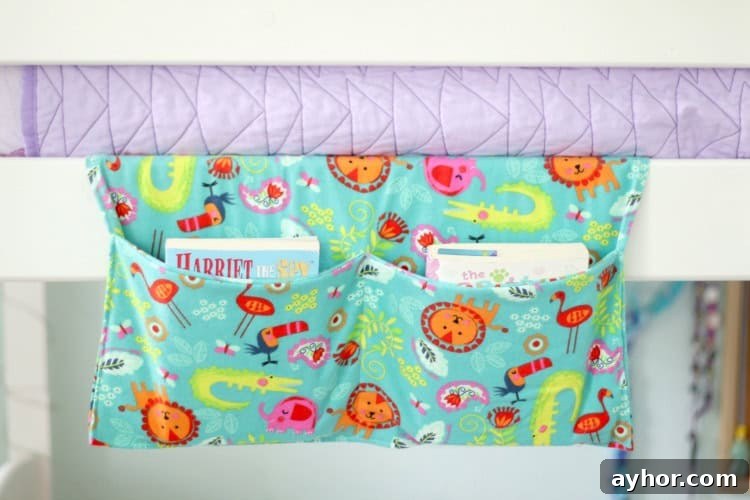
The caddy is essentially a long rectangle that slides under the mattress with a pocket at the end—fast and functional.
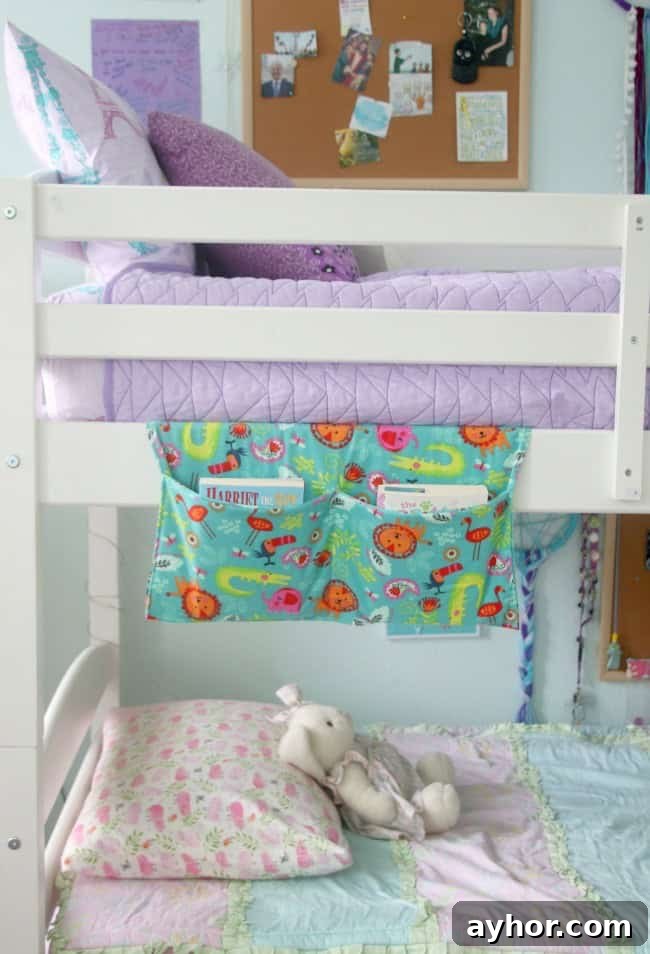
A perfect place to store a chapter book at bedtime.
Supplies for the Book Caddy
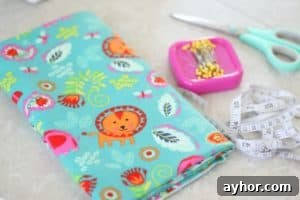
1 ½ yards of fabric, sewing pins, measuring tape, scissors, and a sewing machine.
You’ll need a 40″ x 45″ piece of fabric. Keep the fabric folded and trim it to 20″ wide by 45″ long—when you open the fold it will measure 40″ x 45″.
Watch for Directional Prints
When using directional fabric, plan which way the pattern should face. In the finished caddy the pocket front should display the pattern right side up while the portion that slides under the mattress will be upside down. To achieve that, orient the fabric so the print is upside down on the main piece; when you fold the bottom edge up to form the pocket, the pocket front will then be right side up. This ensures the visible pocket has the correct orientation.
More Sewing Projects for Kids’ Rooms
Dinosaur Pillowcase Tutorial
Fleece Pillowcase Tutorial
Kids Scrappy Quilt
Bunk Bed Book Caddy Sewing Tutorial

Bunk Bed Book Caddy Sewing Tutorial
5
10
15
Equipment
-
sewing machine
-
scissors
-
measuring tape
-
sewing pins
Materials
- 1 ½ yard fabric cotton, flannel, or lightweight denim
Instructions
-
Cut fabric to a 40″ x 45″ rectangle.

-
Fold the fabric in half so it measures 20″ x 45″.
-
With right sides together, sew the side seams and the bottom. Leave the top open.
Note: alternatively you can stitch across the top and leave a small opening to turn the caddy right side out.
-
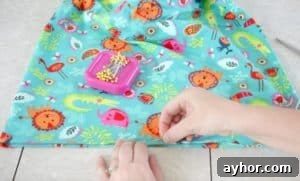
Turn the caddy right side out. Fold the top edges over and pin in place.
-
Fold the bottom edge up 7″ to form the pocket and pin the side seams.
-
Place pins at the center of the pocket to mark where you’ll sew a dividing line.
-
Topstitch around the perimeter of the caddy to secure the edges.
-
Sew down the center of the pocket where you marked with pins to create two compartments.
-
Slide the finished book caddy under the bunk bed mattress and tuck it into place.