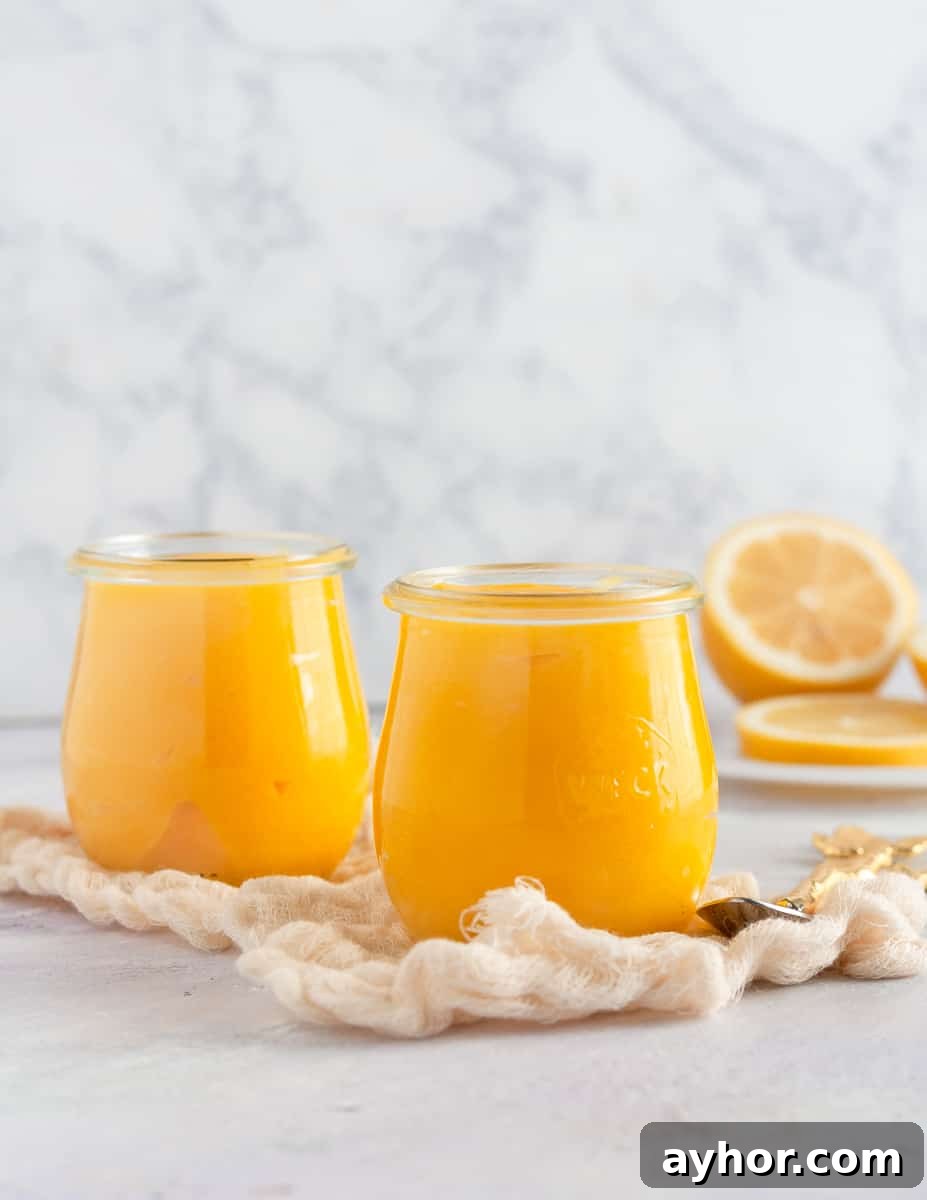
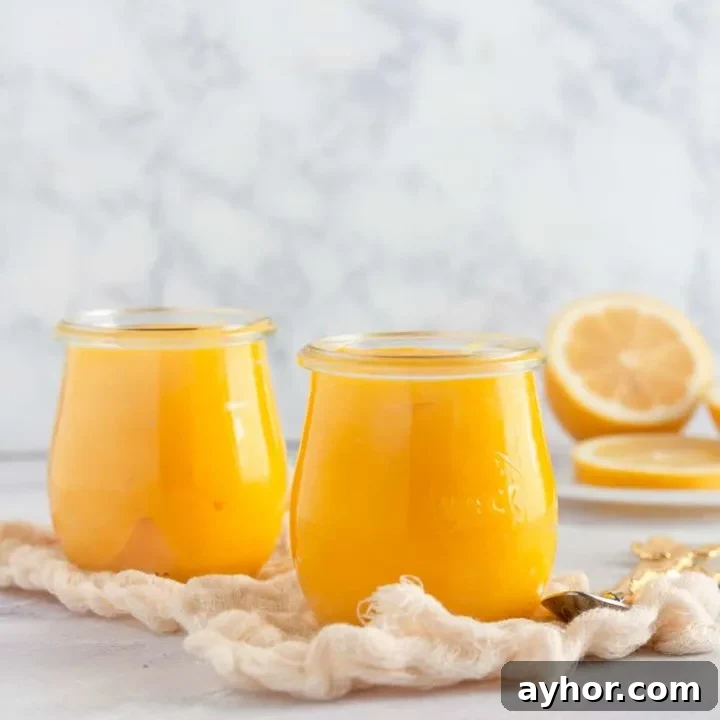
Homemade lemon curd takes about 15 minutes and delivers a brighter, fresher lemon flavor than store-bought jars. This easy recipe freezes well, keeps in the refrigerator, and brings a vibrant lemon punch to many desserts.
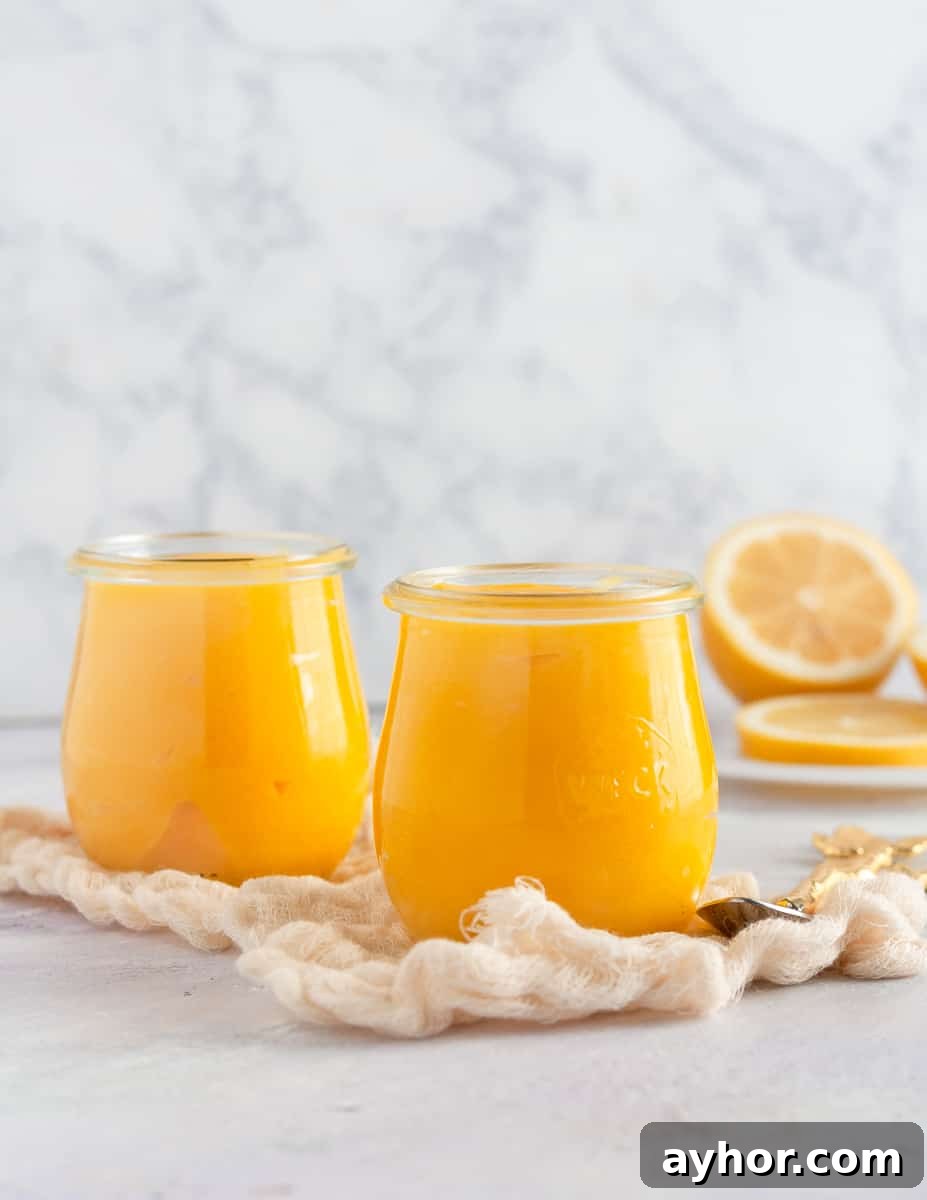
I’m grateful to Ina Garten for sparking my interest in cooking. Years ago, when I ran a dance studio and did administrative work from home, the Food Network played in the background. Her calm, approachable style made cooking feel achievable, even for someone from a family that preferred takeout. Watching her taught me to plan, experiment, and balance flavors, and it pushed me to try more ambitious recipes over time.
Why mention Ina in a lemon curd post? Because this recipe is her method with a small adjustment I adopted. Lemon curd was one of the first non-bake goods I tackled. Before I attempted more involved sweets, making lemon curd from scratch gave me confidence. For less than the cost of a mediocre jar, homemade curd is creamier, brighter, and reliably delicious. That sense of accomplishment—creating something from scratch with great results—still delights me every time I make a batch.
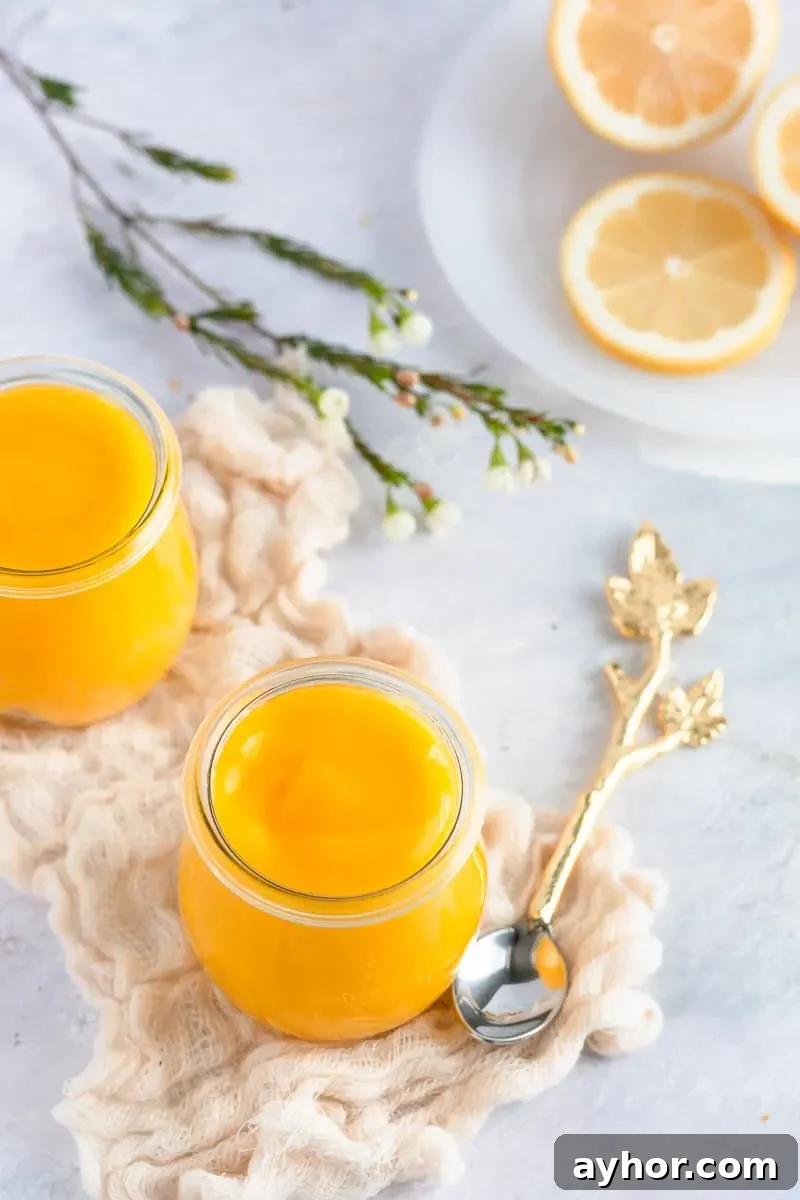
Practical tips for great lemon curd
You can use either standard lemons or Meyer lemons with the same measurements. Meyer lemons are milder and more floral, while standard lemons give a brighter, sharper flavor. I always strain the finished curd through a fine mesh sieve—this removes any bits of cooked egg and a bit of zest for an ultra-smooth texture. While some people use a high-powered blender to avoid straining, I prefer the sieve: it’s fast and guarantees a silky result.
You can freeze lemon curd. Let it cool, press plastic wrap directly onto the surface to prevent a skin and freezer burn, then seal and freeze. Thaw it in the refrigerator. In the fridge, properly covered lemon curd will keep up to two weeks. Keep a piece of plastic wrap touching the surface to minimize oxidation and preserve the bright color.
Some sources describe canning lemon curd in a water bath, but that requires extra effort and still suggests refrigerated storage afterwards. For most home cooks, freezing is simpler and gives longer storage without taking up fridge space.
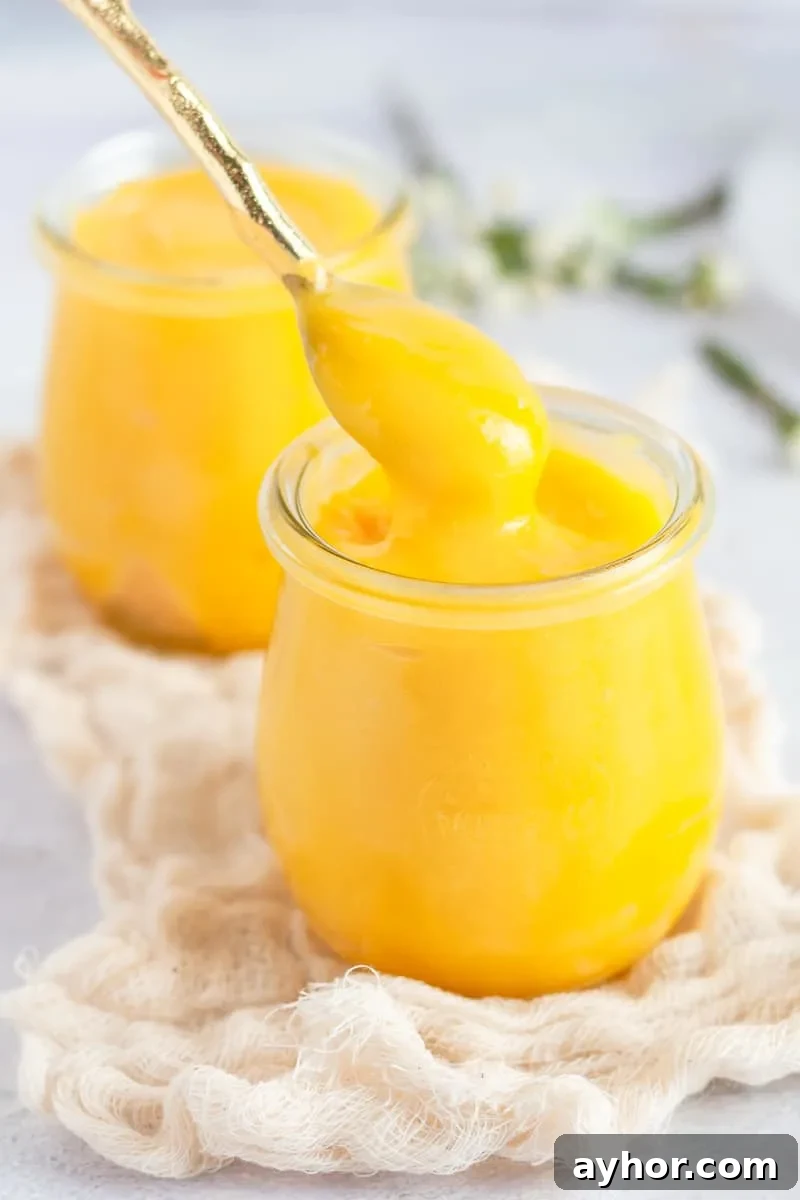
Lemon curd is versatile: swirl it into ice cream, spoon it onto scones, layer it in tarts, or use it as a filling for cakes and cookies. Its bright acidity cuts through richer desserts and adds a fresh, sunny note to simple bakes. Making a batch is quick, rewarding, and elevates many treats.
Homemade Lemon Curd Recipe
3 cups
10 minutes
15 minutes
25 minutes
Homemade lemon curd is quick to make and delivers a brighter lemon flavor than most store-bought versions. It’s simple, freezer-friendly, and delicious.
Ingredients
- 3 lemons, zested; additional lemons may be needed for juice
- 1 1/2 cups granulated sugar
- 8 tablespoons unsalted butter
- 4 large eggs
- 2/3 cup lemon juice (about 3–4 lemons)
- 1/2 teaspoon vanilla extract
- 1/8 teaspoon kosher salt
Instructions
- Either zest the lemons with the fine side of a box grater and stir the zest into the sugar, or carefully peel the zest and pulse it with the sugar in a food processor until finely ground.
- In a medium saucepan over low heat, melt the butter. Whisk in the sugar, eggs, lemon juice, and salt until well combined, about 1–2 minutes. Increase the heat to medium and begin stirring constantly with a wooden spoon or spatula.
- Continue stirring for about 10 minutes until the mixture thickens and coats the back of the spoon. Remove from heat just before it reaches your final desired thickness—the curd will thicken further as it cools.
- Immediately strain the curd through a fine mesh sieve into a bowl to remove any bits of cooked egg or larger pieces of zest. Stir in the vanilla extract.
- Allow the curd to cool. Refrigerate covered—ideally with plastic wrap touching the surface—for up to two weeks, or freeze for up to three months.
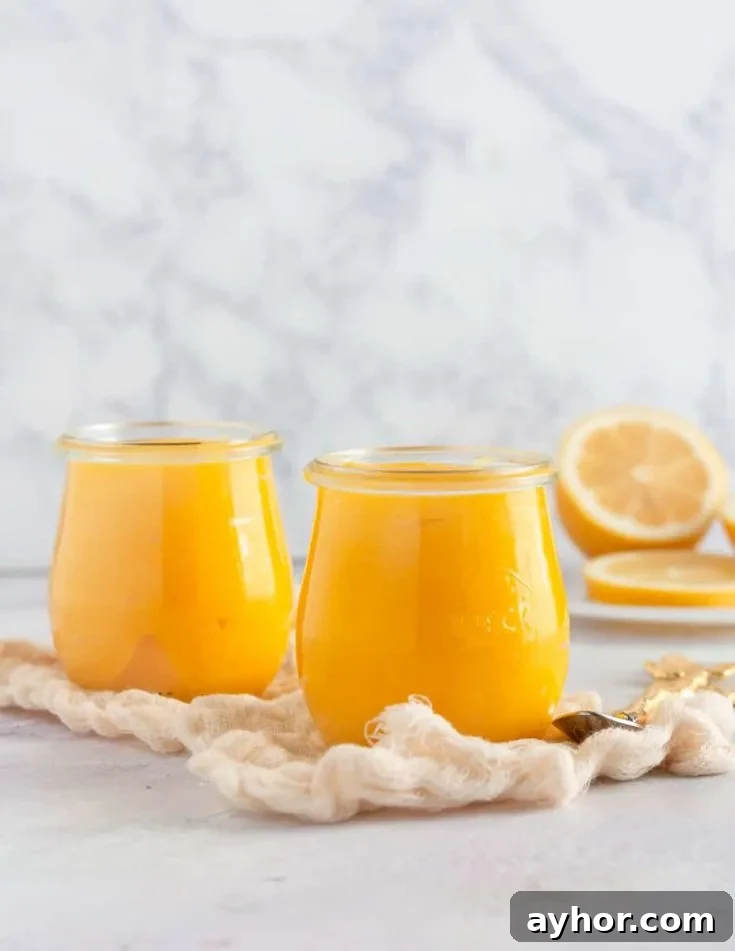
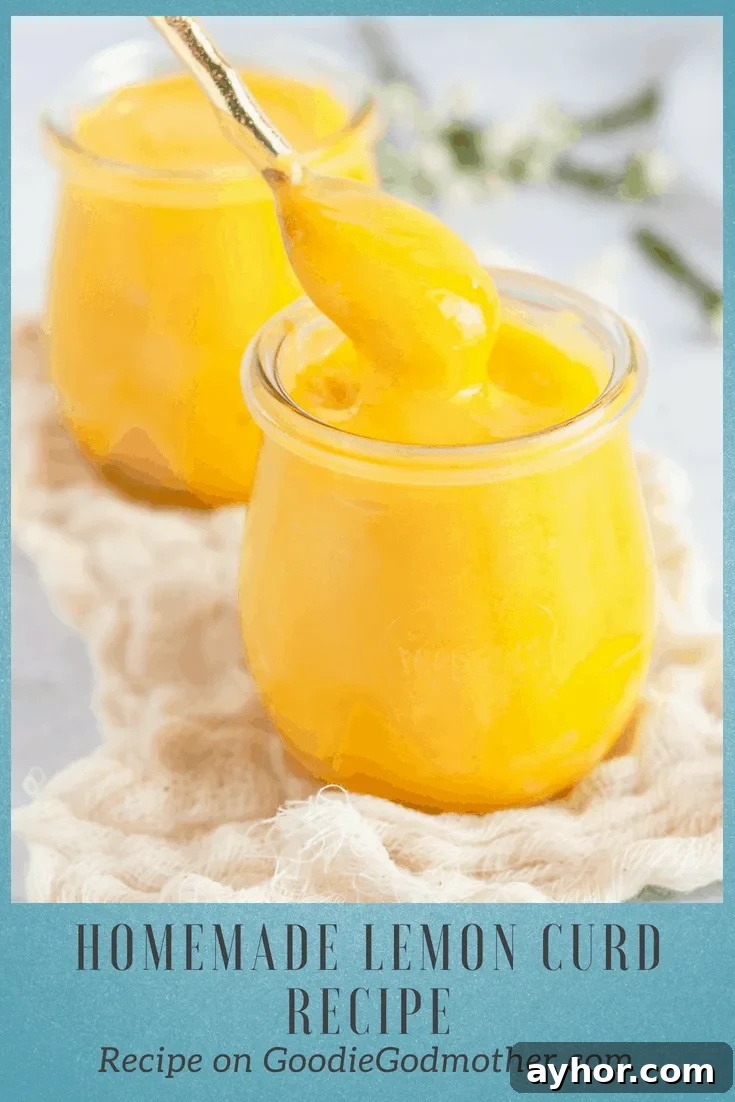
Enjoy this lemon curd on scones, in tarts, swirled into ice cream, or simply spooned over toast. It brightens up pastries, balances rich desserts, and stores conveniently in the freezer for future use. Happy cooking and enjoy the fresh, zesty flavor of homemade lemon curd.