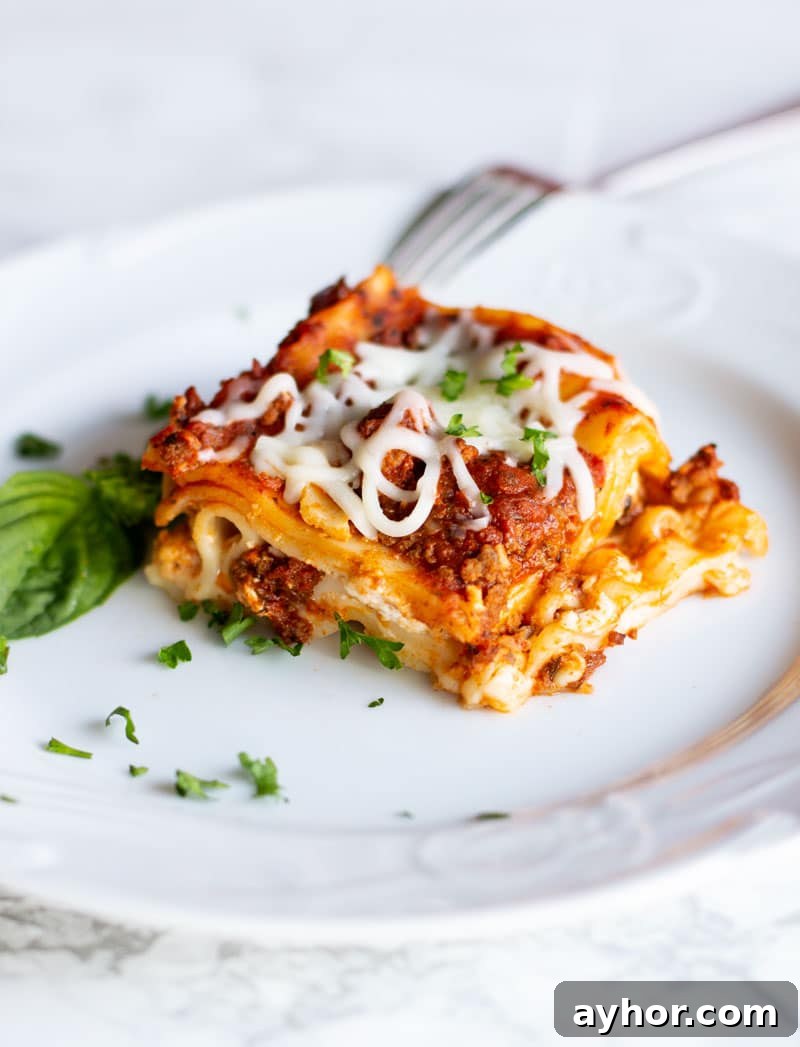
The ultimate lasagna recipe is here! Layered with a rich tomato meat sauce and four cheeses, this homemade lasagna is truly delicious. It can be made ahead, feeds a crowd and freezes well for easy meals later.
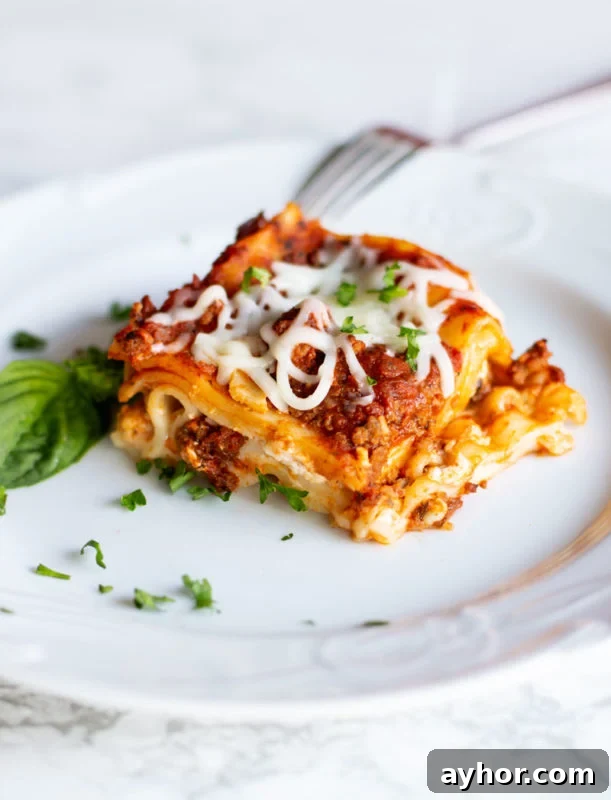
Memories. Joy. Comfort. This lasagna is all of that. It’s a family recipe my mother made for special occasions and one I’ve continued to prepare for my family and catering clients for years. The slow-simmered sauce and the combination of cheeses create a classic, satisfying lasagna that beats restaurant versions for many who taste it.
Best features of this lasagna
- A trusted family recipe with decades of use.
- Simple to make—kids can help with many steps.
- The homemade sauce is rich, saucy and worth the time spent.
- Plenty of leftovers: this recipe serves about 12 people.
- Freezer-friendly: assemble ahead and freeze for later.
- Feeds a crowd—great for parties and catering.
Ingredients
Ingredients are grouped by component so layering is easy to follow.
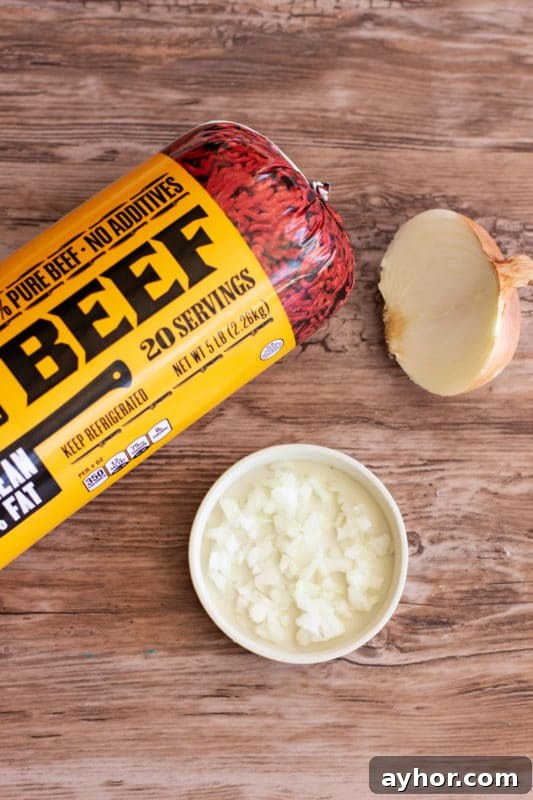
Meat for the sauce
- Ground beef (2 lbs for one 9×13 pan)
- ½ yellow onion, chopped
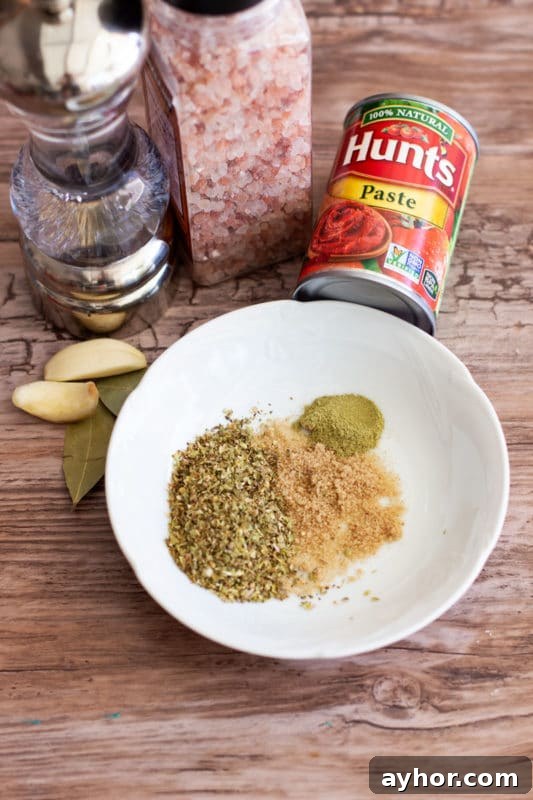
Sauce ingredients
- 3 teaspoons dried oregano
- ½ teaspoon dried thyme
- 1½ tablespoons brown sugar
- 2 bay leaves
- 2 garlic cloves, minced
- 1 (6-ounce) can tomato paste
- Salt and pepper to taste
- About 3 cups water, divided
Lasagna layers
- 1 box lasagna noodles (uncooked)
- 6 slices provolone cheese
- 1.5 cups shredded mozzarella
- 6 ounces cottage cheese
- 1 egg
- 1 cup grated Parmesan
- Pepper, to taste
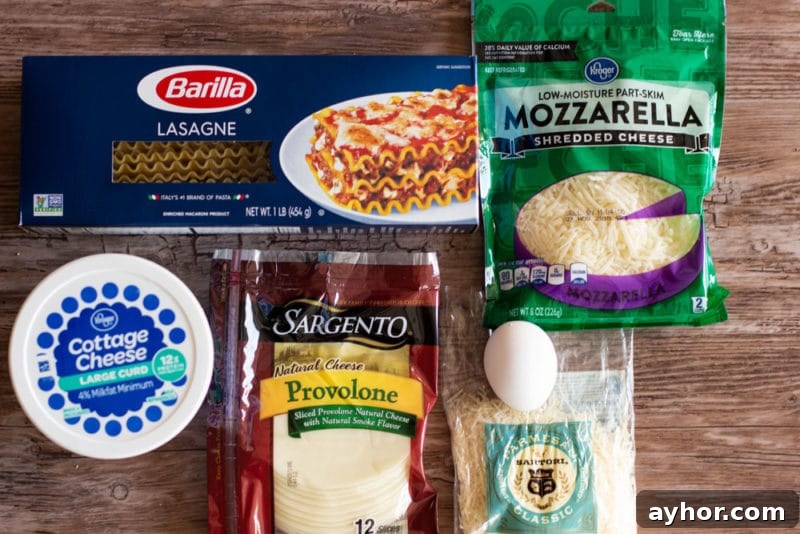
How to make lasagna — step by step
Step 1 – Brown the meat
In a large skillet, brown 2 lbs ground beef with the chopped onion. Season with salt and pepper and cook until no pink remains. Drain excess fat and set the meat aside.
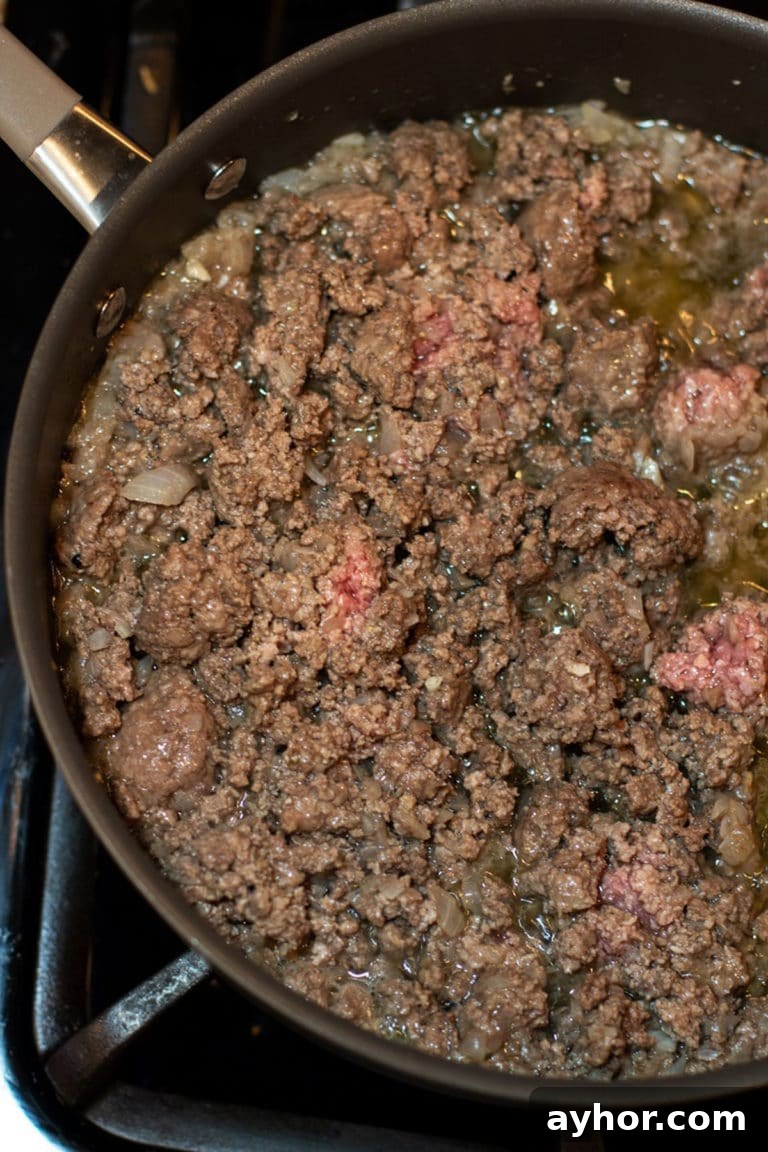
Step 2 – Make the sauce
Return the drained beef to the pan and add oregano, thyme, brown sugar, bay leaves, garlic, tomato paste, salt, pepper and 2 cups water. Stir and simmer over medium-low heat for about two hours, adding water as needed so the sauce reaches the desired consistency. Taste occasionally and adjust seasoning—this slow, patient process is what makes the sauce special.
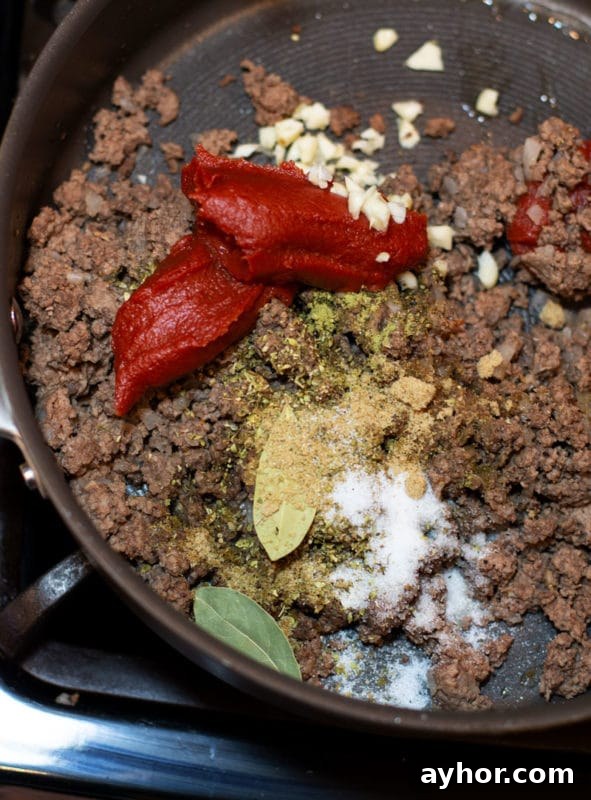
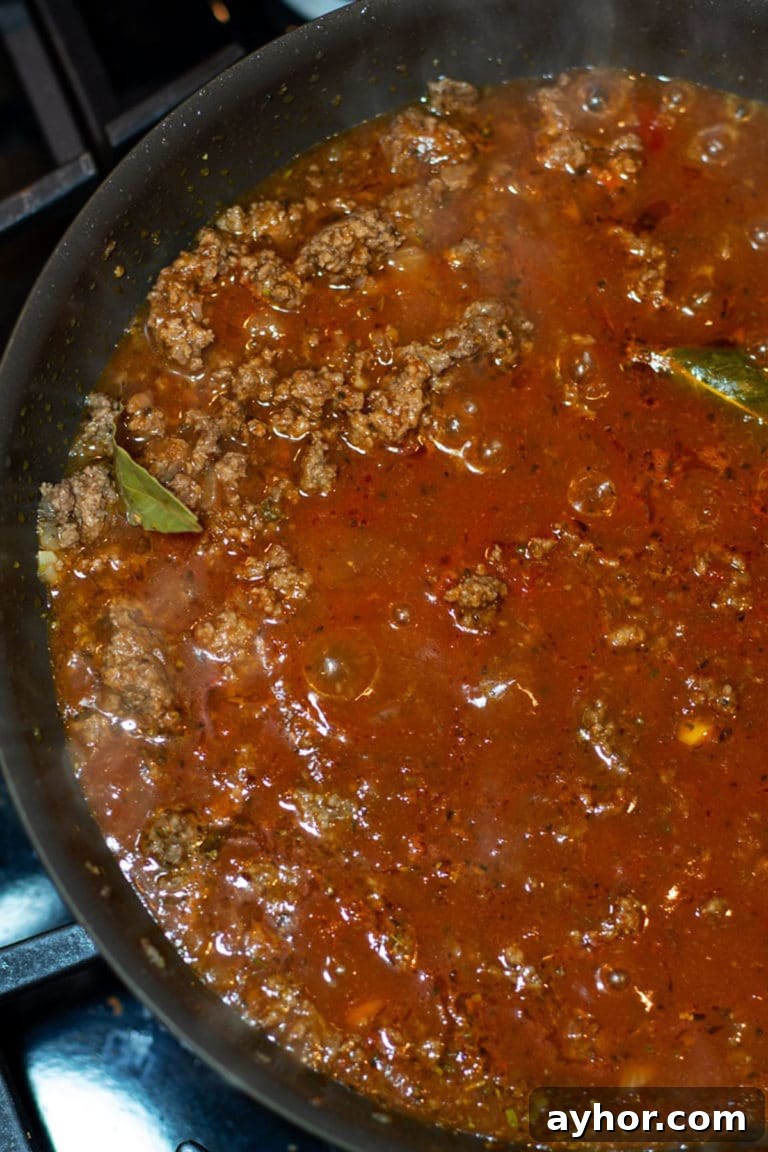
Step 3 – Cook the noodles
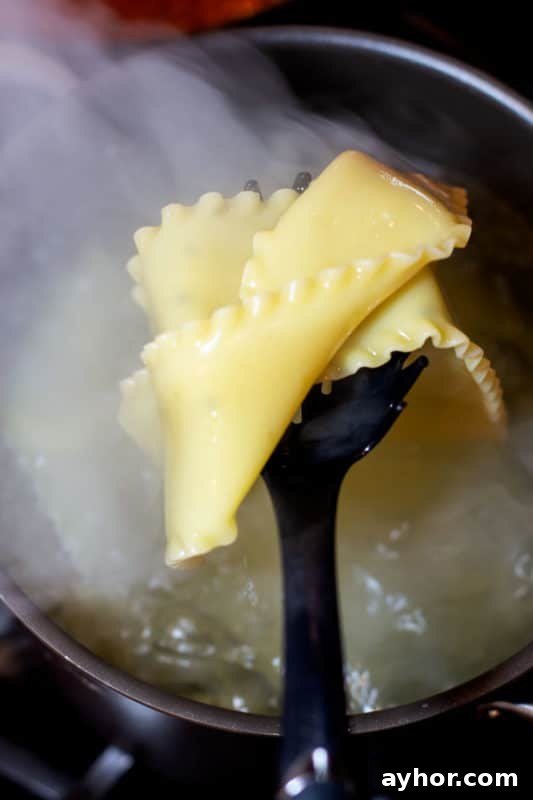
About 30 minutes before the sauce is done, bring a large pot of salted water with a teaspoon of olive oil to a boil. Cook the lasagna noodles according to package directions until tender, drain, then rinse briefly with cold water and set aside.
Step 4 – Layer the lasagna
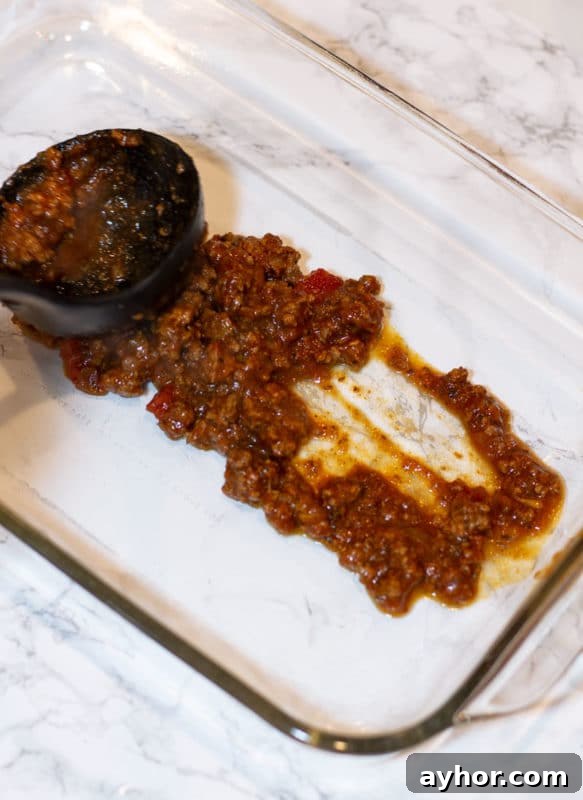
Preheat the oven to 350°F. Spread about ¼–½ cup of sauce evenly across the bottom of a 9×13-inch baking dish to prevent sticking.
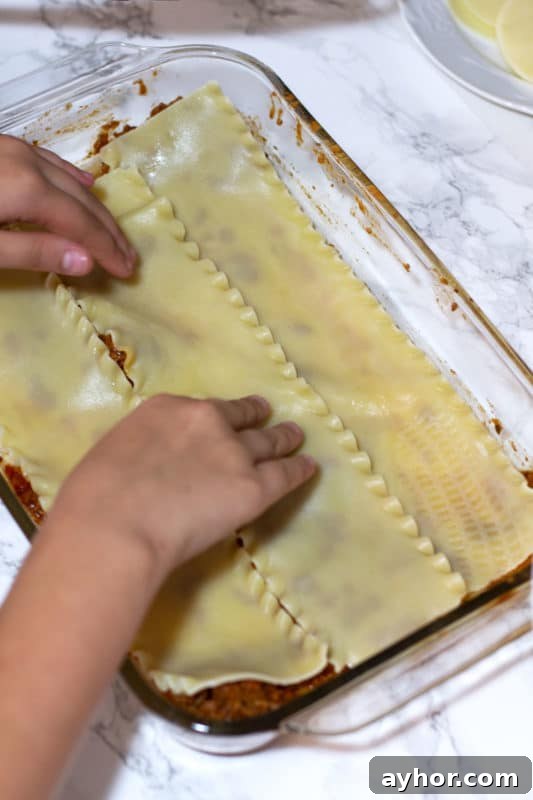
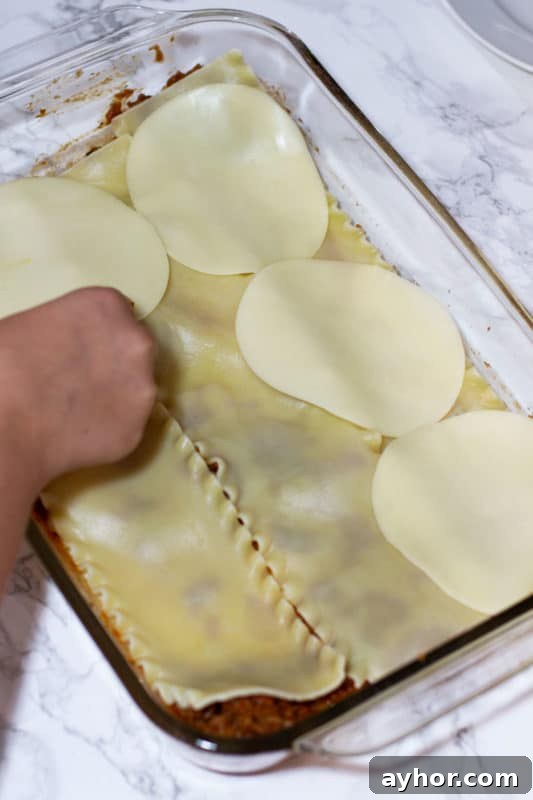
Assemble layers in this order:
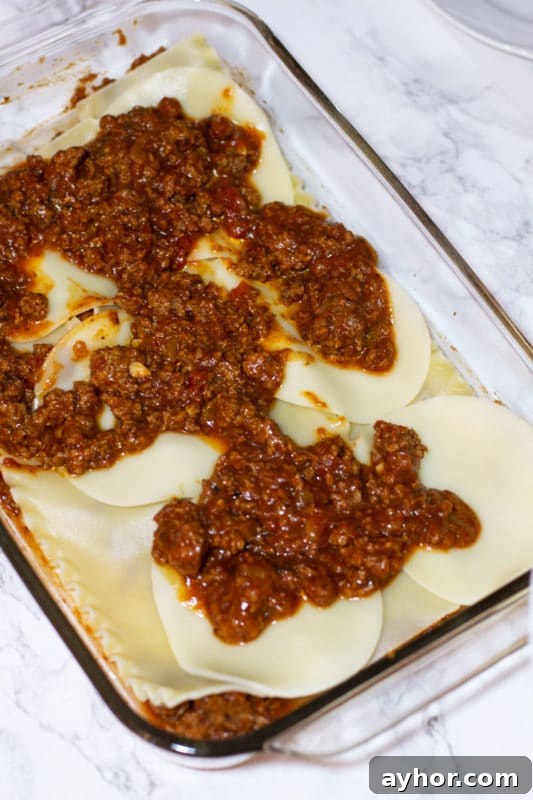
- Layer 1: Place 3 cooked lasagna noodles over the sauce.
- Layer 2: Add 6 slices provolone across the noodles.
- Layer 3: Spoon sauce over the provolone and spread evenly.
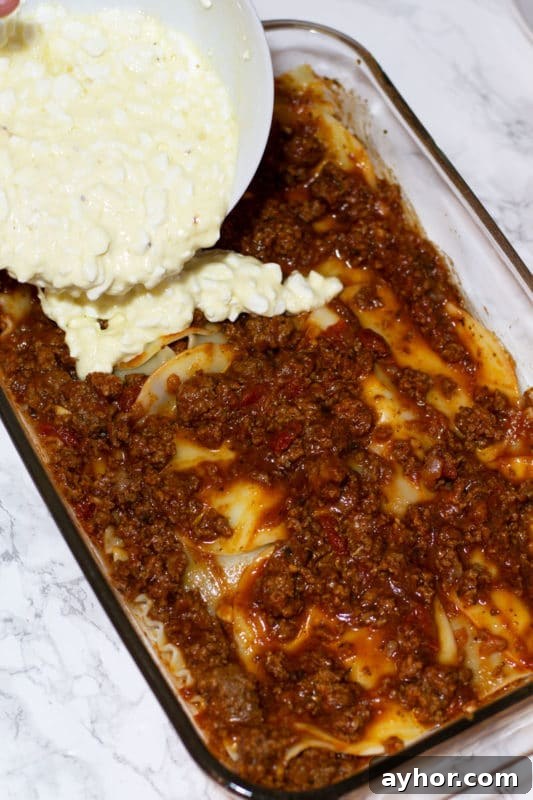
- Layer 4: Mix the cottage cheese with 1 beaten egg and a grind of pepper; spread this mixture over the sauce.
- Layer 5: Add 3 more cooked noodles.
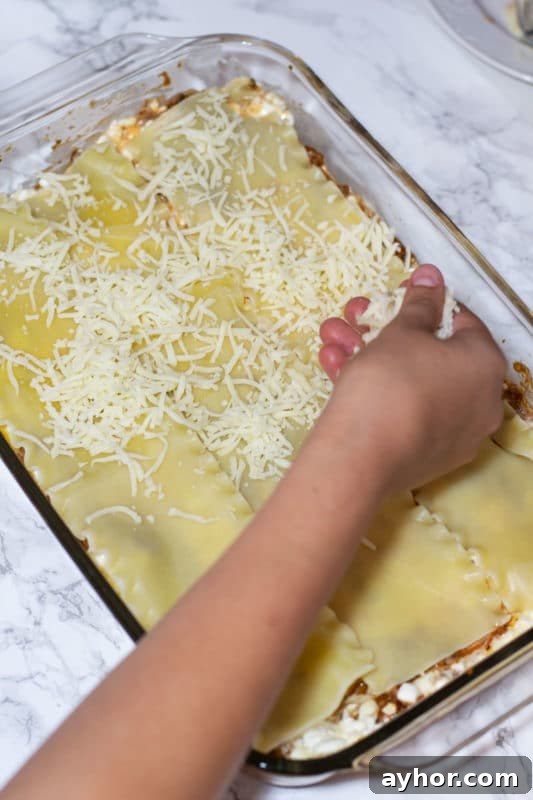
- Layer 6: Sprinkle 1½ cups shredded mozzarella over the noodles.
- Layer 7: Top with 3 final noodles.
- Layer 8: Pour the remaining sauce evenly over the top and finish with grated Parmesan.
Cover the dish tightly with aluminum foil and bake at 350°F for 1 hour and 10 minutes. When finished, remove from the oven and let the lasagna rest for 15 minutes before slicing to allow the layers to set.
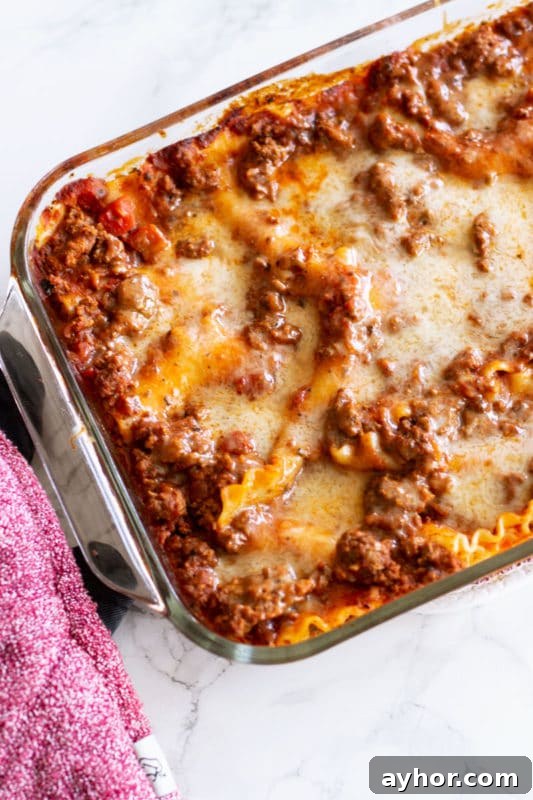
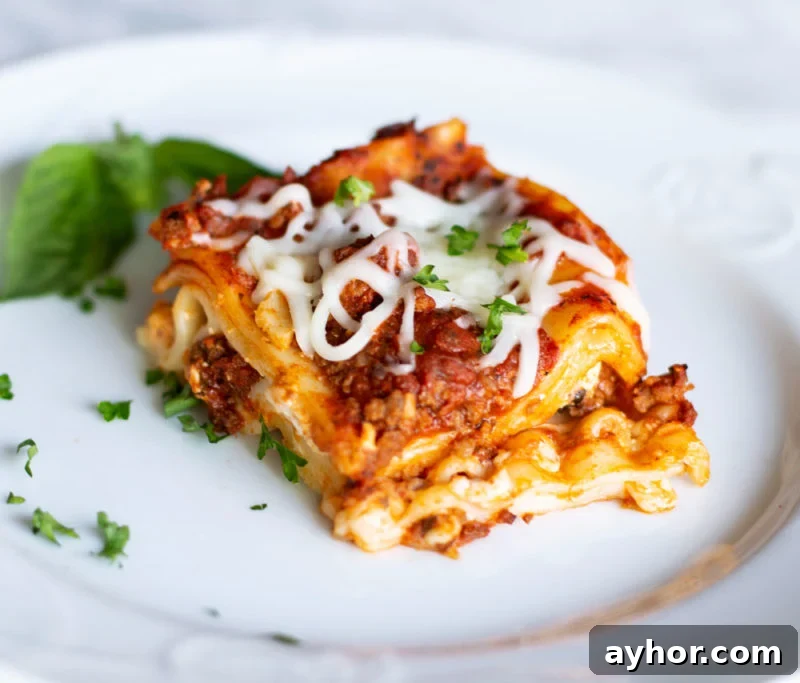
Serve warm. The result is a bubbly, cheesy, tomato-rich lasagna that brings a comforting, homemade flavor to the table.
Expert tips
- Nurse the sauce: simmer slowly for the best flavor. Taste and adjust salt, brown sugar and oregano as it cooks.
- Add water in small amounts while simmering so the sauce doesn’t get too thick—about 3–4 cups total spread over the cooking time often works well.
- If you prefer a saucier lasagna, add a can of petite diced tomatoes or half a jar of your favorite marinara to the sauce.
- Assemble the lasagna the day before and refrigerate covered; bake the next day as directed.
- To freeze: assemble in a disposable pan, cover with foil and freeze. Thaw 1–2 hours at room temperature before baking; bake covered per instructions. For best quality, use within two months.
- Using higher-fat ground beef adds richness and flavor.
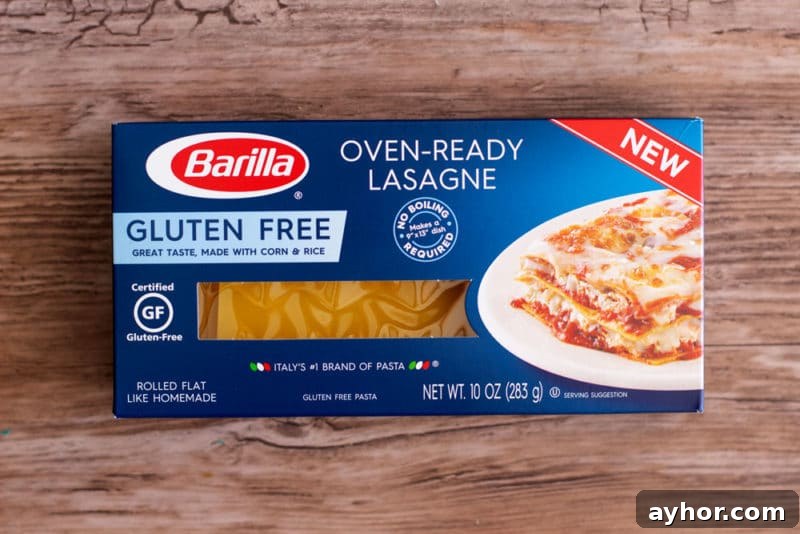
- For a gluten-free version, use oven-ready gluten-free lasagna noodles and follow package instructions for cooking if required.
What pairs well with lasagna
- Romaine salad
- Cheesy garlic bread or cauliflower bread sticks
- Marinated cheese plate
- Tiramisu or another light dessert
Lasagna
A rich, layered lasagna featuring a slow-simmered meat sauce and four cheeses. Makes about 12 servings.
Ingredients
Sauce
- 2 lbs ground beef
- ½ yellow onion, chopped
- 3 tsp dried oregano
- ½ tsp dried thyme
- ½ tsp salt
- ¼ tsp pepper
- 1 (6-ounce) can tomato paste
- 2 garlic cloves, minced
- 3 cups water, divided
- 1½ tbsp brown sugar
- 2 bay leaves
Lasagna layer
- 1 box lasagna noodles (uncooked)
- 6 slices provolone
- 1.5 cups shredded mozzarella
- 6 ounces cottage cheese
- 1 egg
- 1 cup grated Parmesan
- Pepper, to taste
Instructions
Prepare the sauce
- In a large pan, brown the ground beef with the chopped onion until no pink remains. Drain and set aside.
- Return the beef to the pan and add the sauce ingredients with 2 cups water. Simmer on medium-low for about 2 hours, adding water as needed and tasting to adjust seasoning. Remove bay leaves when finished.
Assemble and bake
- Preheat oven to 350°F. Cook lasagna noodles according to package directions, drain and rinse with cold water.
- Spread ¼ cup sauce in the bottom of a 9×13 dish. Layer 3 noodles, 6 provolone slices, sauce, and the cottage cheese mixed with the beaten egg and pepper. Add 3 noodles, 1½ cups mozzarella, 3 more noodles, remaining sauce and top with Parmesan.
- Cover with foil and bake 1 hour and 10 minutes. Let rest 15 minutes before slicing and serving.
Notes
Nutritional estimate (per serving): about 484 calories, 29 g protein, 31 g carbs, 25 g fat.
Freezer meal: Assemble in a disposable pan, cover with foil and freeze. Thaw 1–2 hours at room temperature before baking; bake covered as directed. Best within two months.
Update Notes: This post was originally published in July 2015 and updated with improved instructions, photos and tips in July 2018.
Note: this page contains affiliate links in the original text.